
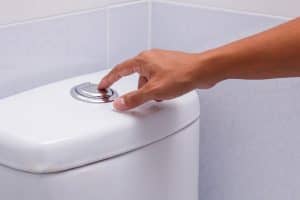
 The working function of the flush button on your toilet is something which you likely take for granted, until it stops. Before you find yourself reverting back to the old bucket-of-water trick, take a read through our step-by-step guide. It may be that, with the help of our professional advice, fixing the flush button isn’t as hard as it seems…
The following steps are appropriate for both standard and water-saving flush buttons.
The working function of the flush button on your toilet is something which you likely take for granted, until it stops. Before you find yourself reverting back to the old bucket-of-water trick, take a read through our step-by-step guide. It may be that, with the help of our professional advice, fixing the flush button isn’t as hard as it seems…
The following steps are appropriate for both standard and water-saving flush buttons.
What you’ll need
- A new flushing mechanism purchased from your local DIY store
- A flat head screwdriver
- A towel
- A cloth
- A pair of pliers
Step 1: Turn off your water supply
Locating your stopcock and turning off your water supply is crucial before carrying out any of the following steps. This is likely to be found under your kitchen sink but the location can vary from home to home.Step 2: Remove the elements
Lift the cistern lid off carefully, disconnecting the refill tube at the same time. Place this somewhere safe whilst you carry out the following steps. By unscrewing a nut toward the back of the cistern, you will find that you are able to remove the existing button in place. Once this has been lifted out, use your towel or cloth to clean the edges of the hole. This will make it ready for the new button, allowing it to be put in place with ease.Step 3: Remove the water
Whether you choose to scoop remaining water out with a cup or jug or flush the system, you will need to remove as much of the water as you can. With the water removed, you’ll be able to remove the tank.Step 4: Remove the tank and cistern
To fit the new flush button, the water tank will first need to be removed. With your screwdriver, carefully remove the screws that hold the tank against the wall, as well as those underneath the tank. Gently lift the tank off of the wall and away from your toilet. You’ll see the pipe that feeds water to the tank and will want to remove this. From here, you’ll be able to remove any remaining water found at the bottom of the tank. Place your towel over the lid before placing the cistern on top.Step 5: Remove and assess your components
Locate the round rubber washer at the bottom of the cistern and carefully use your pliers to remove the ring, the nut which holds the flushing device in place, and the metal clamp.If these components are in good condition you will be able to use them again so place them to one side.